Wet rooms look fantastic and maximise space, but they must be planned properly. Here is the step-by-step process we follow on every wet room.
A well-planned wet room is one of the best upgrades you can make to a bathroom — open, easy to clean and accessible. But wet rooms are unforgiving of poor planning. Here is the process we follow.
1. Check Suitability
Most bathrooms can become wet rooms, but the floor structure affects the approach. Solid floors are straightforward; timber floors need the joists checked and a former set into them for the gradient.
2. Plan the Layout and Drainage
Decide where the drain sits (linear drains against a wall look sleek). The whole floor must fall gently towards it — usually via a pre-formed gradient former.
3. Tanking (Waterproofing)
The entire floor and lower walls are tanked with a liquid membrane or tanking kit before tiling. This is the single most important step — get it wrong and you get leaks.
4. Choose Flooring and Tiles
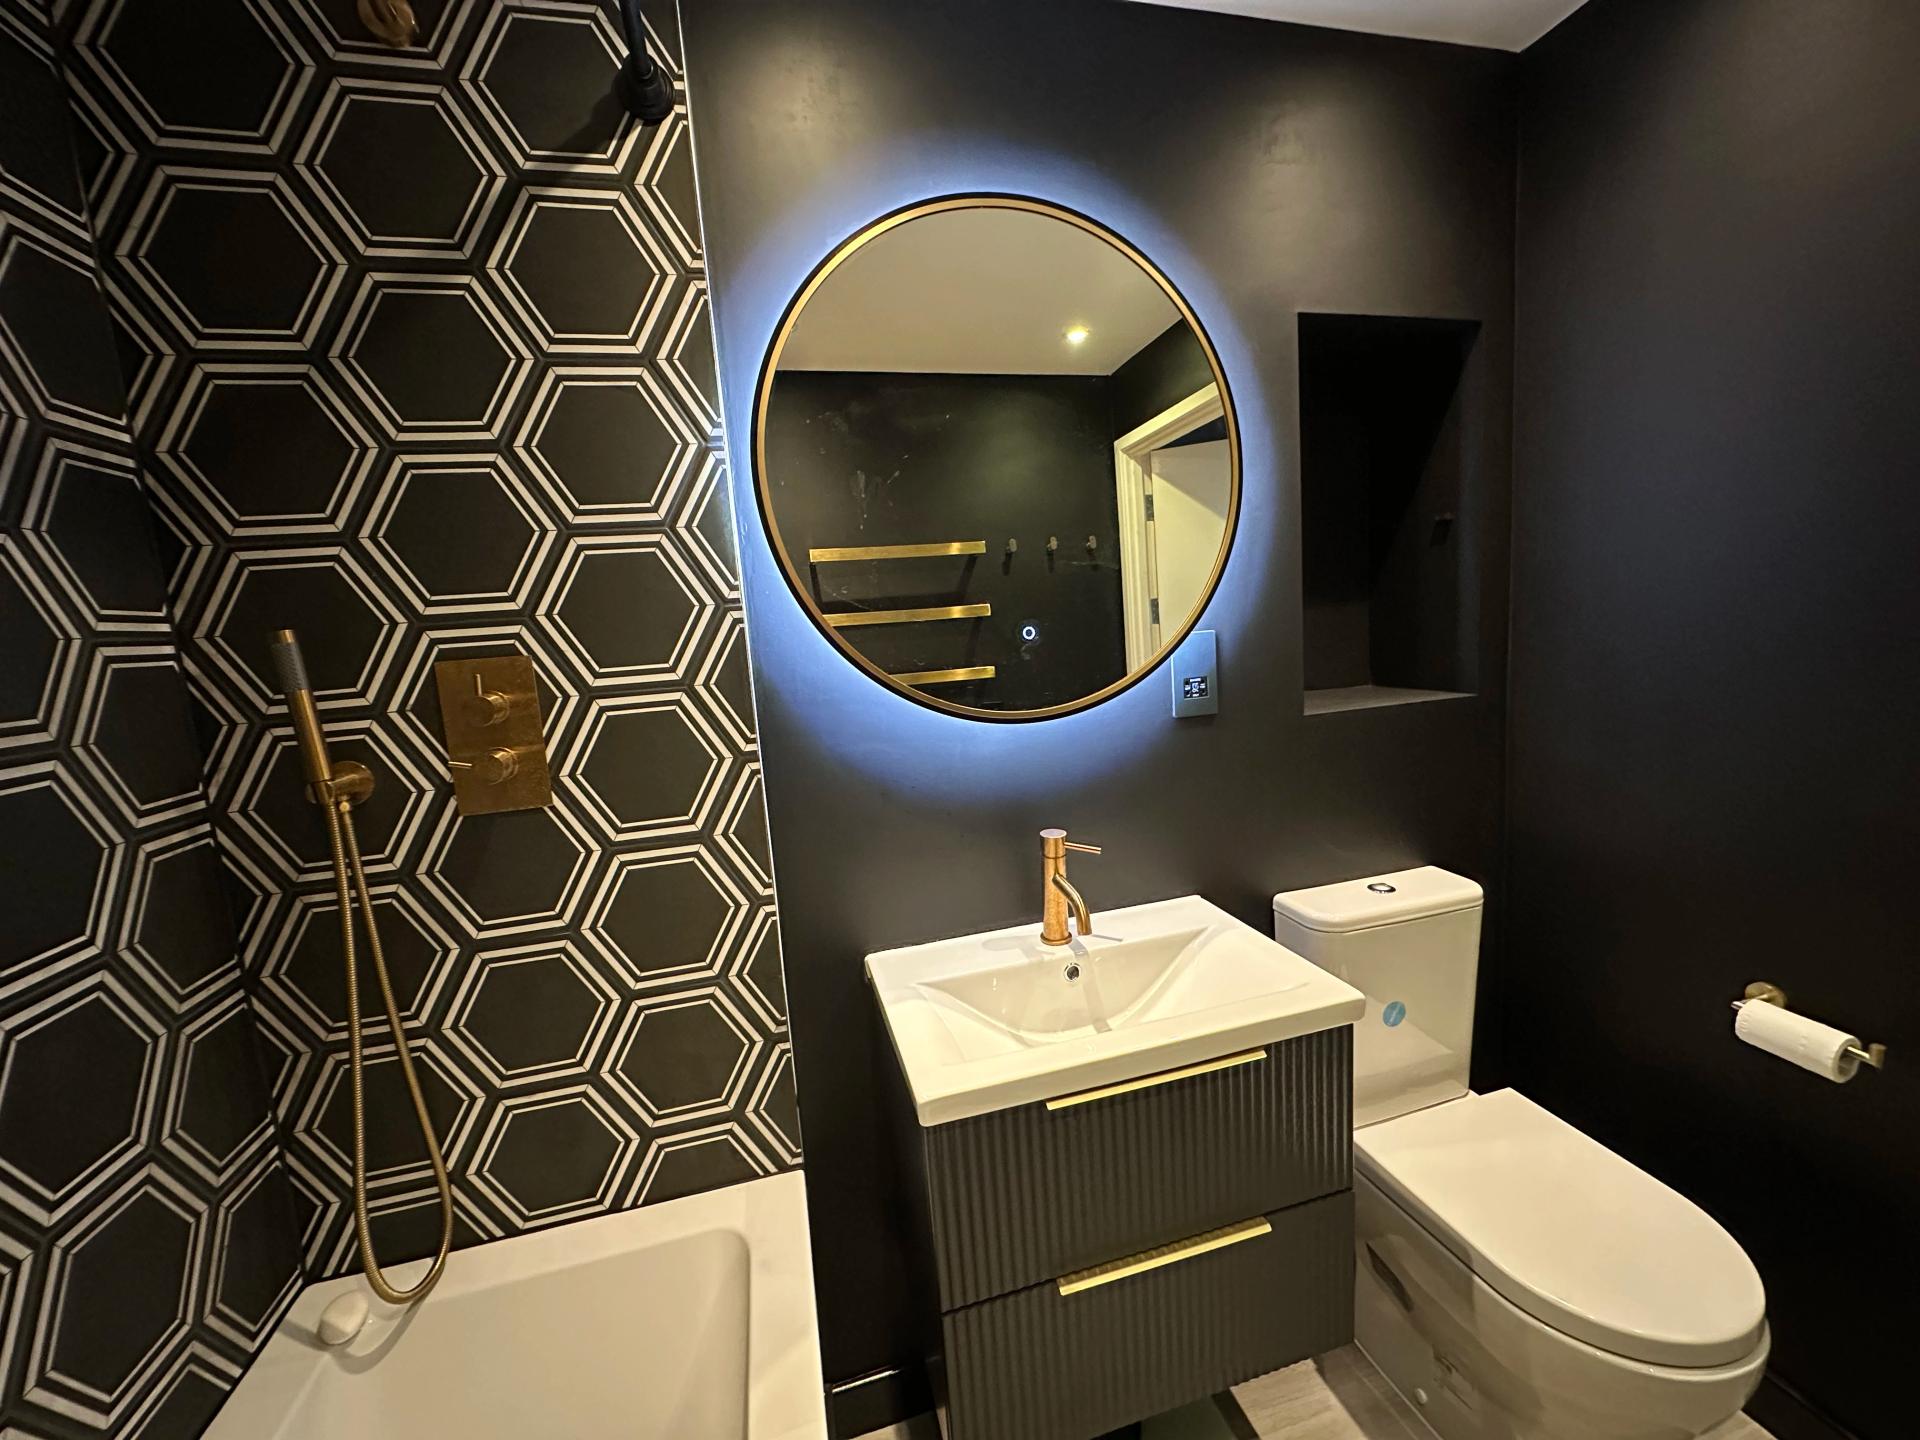
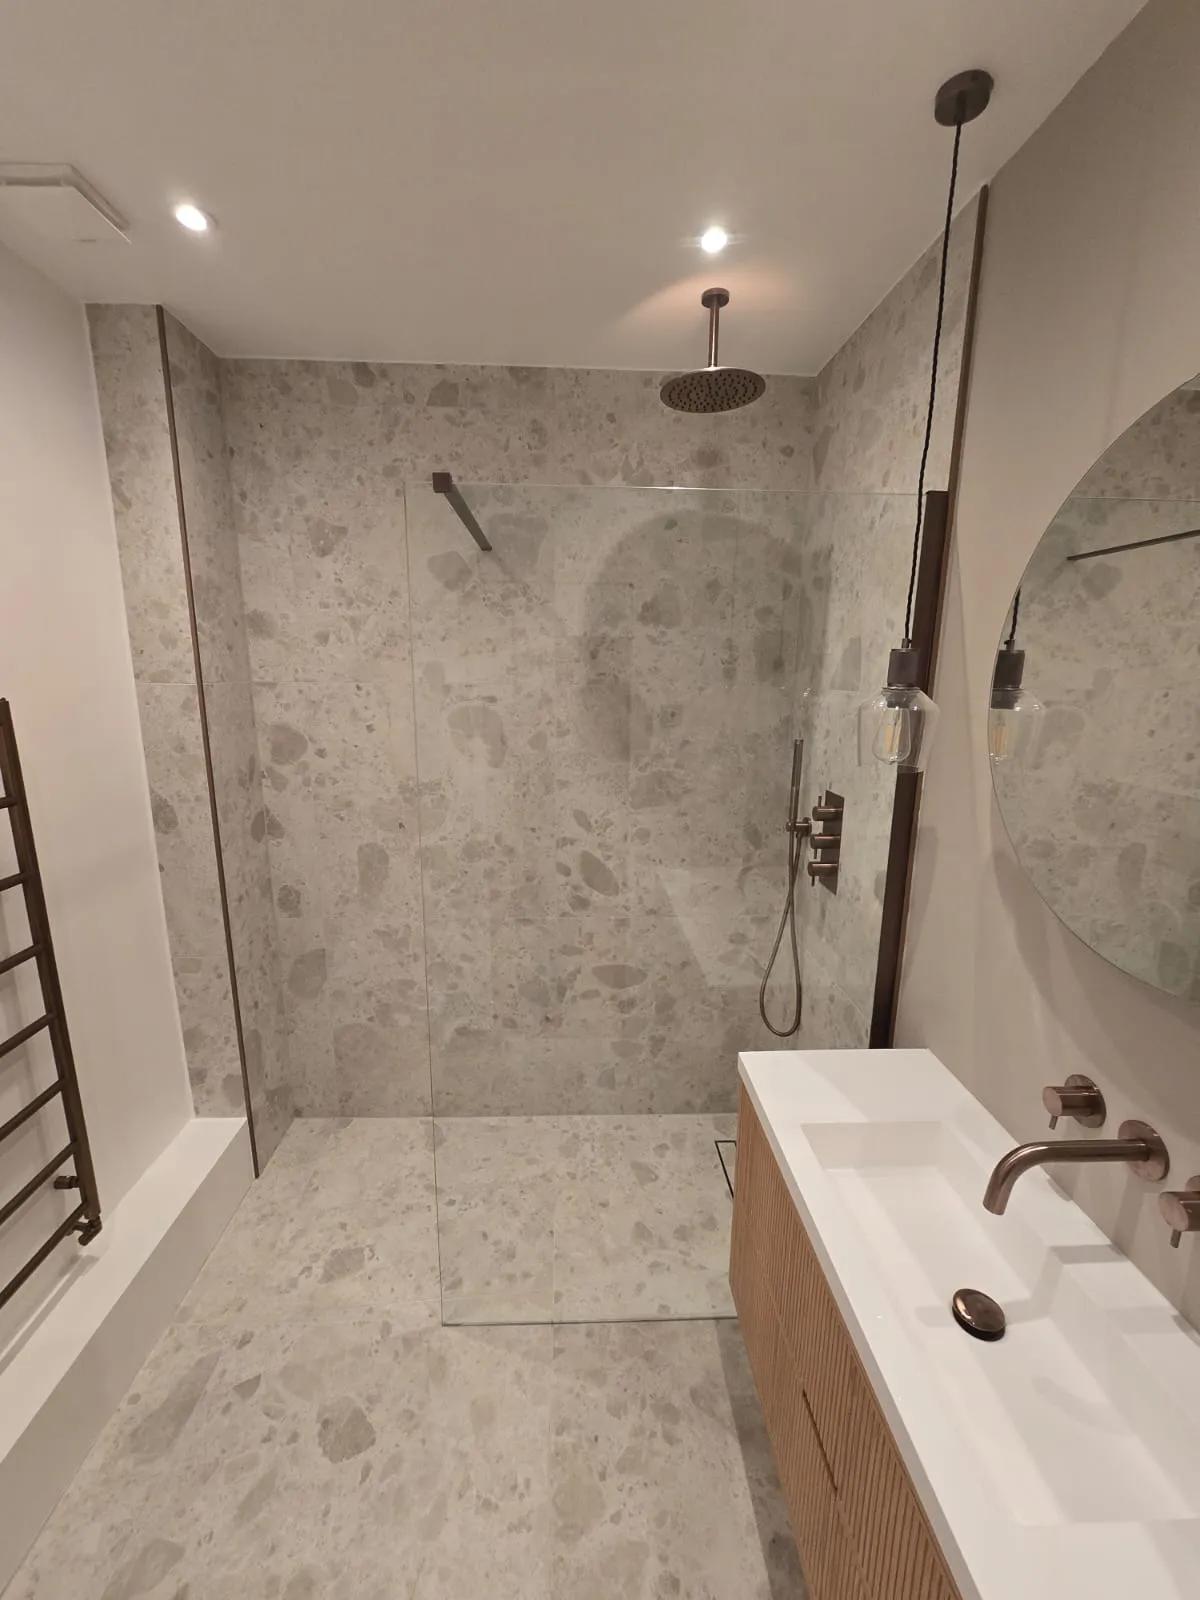
Use slip-resistant floor tiles (small mosaics grip better and follow the gradient). Large-format tiles suit the walls.
5. Budget and Build
A wet room typically costs a little more than a standard bathroom due to the tanking and gradient work, but the result is worth it.
Planning a bathroom project across East, North or South East London? Get a free, fixed-price quote from STEP-AHEAD Renovations — rated 9.34/10 on Checkatrade.
Frequently Asked Questions
Do wet rooms leak?
Not when tanked correctly. Full waterproofing of the floor and lower walls, with a proper gradient to the drain, prevents leaks. We back ours with a 5-year warranty.
Do I need a screen in a wet room?
A single glass screen is recommended to keep splashing off the rest of the room while keeping the open feel.